Right, let’s setup Mailgun. I’m using Mailgun for my Discourse install.
The first step is to add your domain.
Mailgun is going to recommend that you use a subdomain, such as mg.mydomain.com Whether you want to do that or not is up to you, the steps will be similar. I’m not going to. So for the sake of argument here, the domain that we are setting up is mydomain.com
Mailgun is going to give you 4 steps. We will need to go Google Domains. Click the Manage My Domains, and then click the DNS button on the domain of interest.
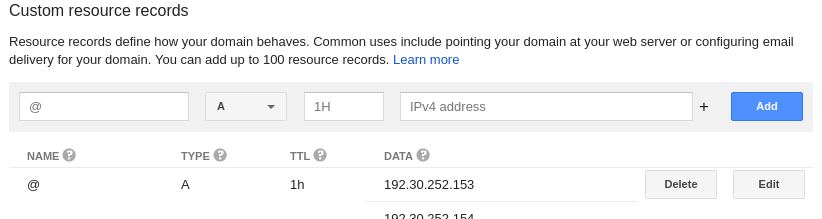
Once you’re there, scroll all the way down to the section that is titled Custom resource records. It’ll look something like this:
That accomplishes Step 1. Go To Your DNS Provider from the 4 step process in Mailgun.
Under Step 2, Add DNS Records For Sending on the Mailgun site, there are three resources we need to add: TXT, MX, and a second MX.
Let’s add the TXT first.
The top bar that is slightly grayed out with a blue button “Add” button on the far right is the interface that we’ll be using to add these documents. If you have a subdomain, (e.g. “mg.mydomain.com”), the subdomain will go in the far left “Name” column, otherwise leave it blank. The “Type” drop down menu (second column from the left), we’ll change from “A” to “TXT”. You can leave the “TTL” column as is. In the “Data” column, we’ll put in the SPF value “v=spf1 include:mailgun.org ~all”. Hit Add, and you should see the table update below the top bar.
Next, we’ll add in the DKIM, or Domain Key. We’ll follow the same procedure, although this time you’ll need to add in the Hostname that Mailgun specifies. Change the “Type” from “A” to “TXT” and paste the value associated with the domain key into the “Data” column (should be in the form of k=rsa;p={a bunch of letters}).
Next we’ll add in the MX records.
We’ll follow the same drill, subdomain (if you have one) in the far left, change the “Type” from “A” to “MX” and then paste the mxa.mailgun.org. in the. You can either hit the plus sign on the right hand side of the “Data” column, or hit “Add” and then scroll down to the entry and click the “Edit” button. As a forewarning, Google will automatically add the number 10 to your record so mxa.mailgun.org. will change to 10 mxa.mailgun.org.. Totally legit, don’t panic.
Add in the second “MX” record mxb.mailgun.org. and “Add” or save the record.
Last, according to Step 3) we need to Add DNS Records for Tracking.
Copy the Hostname that Mailgun provides under Step 3, change the “Type” from “A” to “CNAME” and enter in the value of mailgun.org into the “Data” column. Click add.
Step 4 is wait for your domain to verify. In my experience, it was almost instantaneous with Google.
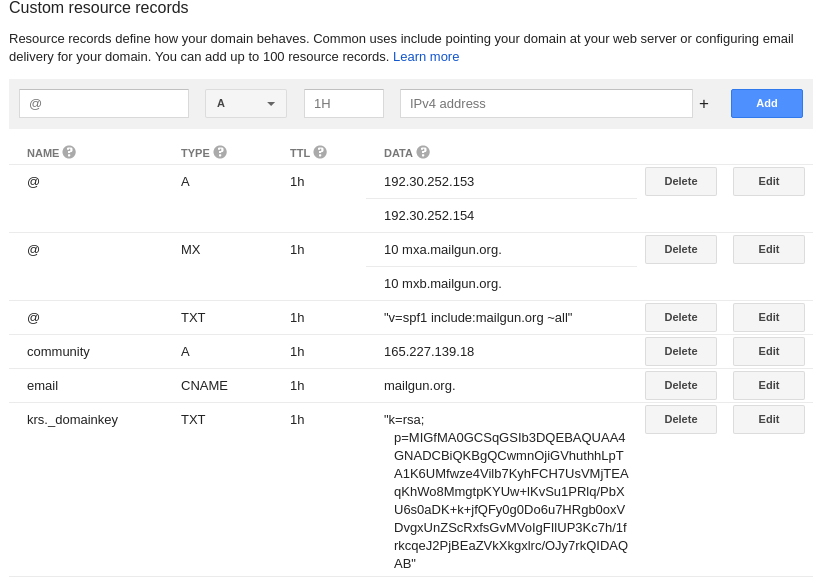
In the end it should look something (although not exactly) like this.
Comments !